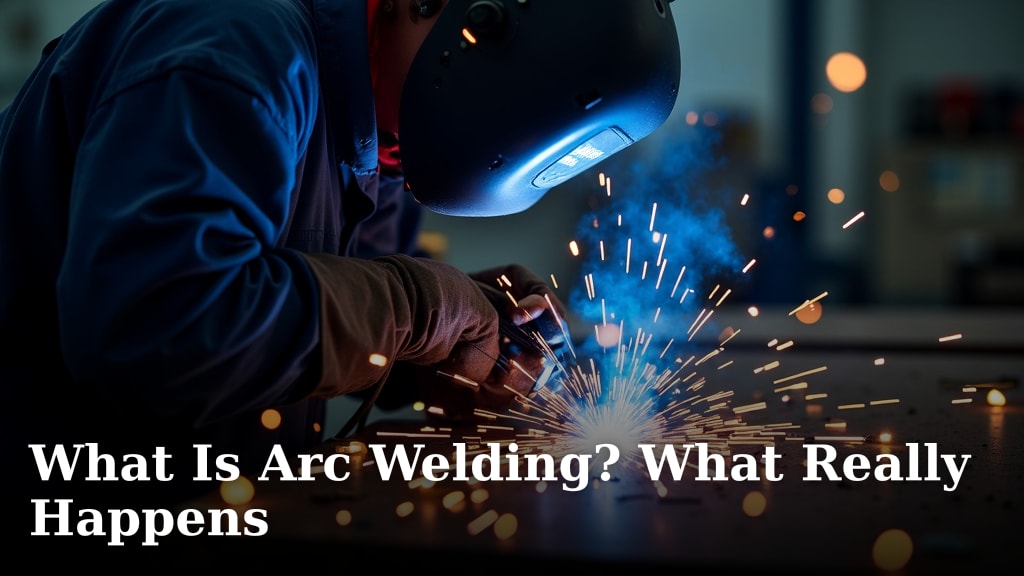
What Is Arc Welding? What Really Happens
Arc welding is a process that uses a powerful electric arc to create intense heat, melting metal pieces to join them together permanently. It’s one of the most common and effective ways to build and repair strong metal structures.
You’ll see this method used everywhere from construction sites and manufacturing plants to auto repair shops. The process relies on creating a controlled electrical short circuit between an electrode and the workpiece, generating temperatures over 6,500 degrees Fahrenheit.
- Arc welding uses electricity to create a super-hot arc that melts metal.
- This molten metal pools and solidifies, forming a strong, permanent bond.
- It’s a go-to method for steel, iron, and other common metals.
- You need protective gear like a helmet and gloves to work safely.
- Many different types of arc welding exist for various jobs.
Let’s walk through exactly how this works, step by step, and look at the different types you might encounter.
Understanding How Arc Welding Actually Works
At its core, arc welding is about creating and controlling a small, artificial lightning bolt. This intense electrical arc generates the heat needed to melt metal into a liquid state. When that liquid metal cools, it forms a solid, permanent connection between two pieces of material.
Think of it like using a super-powered soldering iron, but for heavy-duty steel. The whole process hinges on a few key components working together perfectly. Let’s break down the essential steps you see in any arc welding job.
The Core Components in the System
Before you strike an arc, you need a simple setup. You have the welding machine, which controls the electricity. Then there’s the electrode, which is often a coated metal rod. Finally, you have the workpiece, which are the metal pieces you want to join.
The machine sends a powerful electrical current through the electrode. Your job is to complete the circuit by touching the electrode to the metal. The moment you pull it back slightly, the magic happens.
Creating the Molten Pool: Step-by-Step
When the electrode gets close to the metal, electricity jumps the gap, creating the bright, hot arc. This arc is hotter than the surface of the sun. It instantly melts the tip of the electrode and the base metal beneath it.
These two molten metals mix together, forming a small, glowing puddle. As you move the electrode, this puddle follows, filling the gap between the pieces. When it cools and solidifies, you’re left with a strong weld bead.
The Role of Shielding Gas
Here’s a detail beginners often miss: that molten metal is very vulnerable. Hot liquid metal reacts instantly with oxygen and nitrogen in the air, creating weak, brittle welds full of defects.
To prevent this, arc welding uses a shield. For many common methods like SMAW or MIG, the electrode’s outer coating burns to create a cloud of protective gas. This gas, often CO2 or an argon mix, blankets the weld puddle and keeps out the harmful air.
The Different Flavors of Arc Welding
The basic principle is the same, but there are several popular methods. Each one uses different equipment and techniques for specific jobs. The two most common processes you’ll hear about are Stick welding and MIG welding.
| Welding Type | Also Called | Best For | Key Trait |
|---|---|---|---|
| Shielded Metal Arc (SMAW) | Stick Welding | Outdoor repairs, thick rusty metal | Uses a flux-coated consumable electrode |
| Gas Metal Arc (GMAW) | MIG Welding | Automotive work, sheet metal, manufacturing | Uses a solid wire electrode fed from a spool |
| Gas Tungsten Arc (GTAW) | TIG Welding | Thin metals, precise work like aluminum or stainless | Uses a non-consumable tungsten electrode |
| Flux-Cored Arc (FCAW) | Flux-Core | Heavy fabrication, outdoor structural steel | Similar to MIG but uses a tubular, flux-filled wire |
Stick Welding (SMAW): The Rugged Classic
This is the original, most portable method. You hold a stinger with a coated rod, strike an arc, and drag it along the joint. The flux coating burns off, creating the protective gas shield and leaving behind a layer of slag. You have to chip this slag away to see the finished weld underneath.
We found that many DIYers start here because the equipment is simple and affordable. It’s great for repairs on farm equipment or steel fences. It’s also more forgiving of dirty or rusty metal compared to other processes.
MIG Welding (GMAW): The Factory Workhorse
If you’ve seen someone welding on a car in a shop, they were probably using MIG. A machine automatically feeds a thin wire electrode from a spool. This wire becomes the filler metal that joins your pieces.
A stream of shielding gas flows from the nozzle around the wire. This makes the arc stable and the process very clean. Many beginners find MIG easier to learn because you simply pull the trigger and guide the gun.
TIG Welding (GTAW): The Precision Artist
TIG welding is about finesse, not speed. It uses a pointed tungsten electrode that doesn’t melt. You hold a separate filler rod in your other hand and dip it into the molten pool created by the arc.
This gives you incredible control for thin metals or critical welds on aluminum and stainless steel. The process is slower and requires more skill, but the results are often clean enough to be called “stacked dimes.”
What You’ll See and Hear While Welding
Arc welding is a very sensory experience. Understanding the sights and sounds helps you know if things are going right. A smooth, steady crackle usually means a good, consistent arc.
Reading the Arc and the Puddle
The arc itself should be tight and bright, not a wide, fuzzy spray. The molten puddle should be clearly defined and follow your direction smoothly. If it starts to sputter wildly or looks like a mess of sparks, your settings might be off.
You’ll also notice different spatter patterns. A little spatter is normal, but excessive sparks flying everywhere can indicate problems. This might mean your wire feed speed is too high or your shielding gas flow is blocked.
Common Sounds and What They Mean
Listen closely to your arc. A sound like bacon frying is a good sign—it means you have a stable short-circuit transfer. A high-pitched whistling sound isn’t great; it often points to too much voltage or a wire feed issue.
If you hear popping and the arc goes out, you might have hit a patch of oil or paint on the metal. Many experts say cleaning your metal thoroughly before you start prevents 90% of weld quality problems.
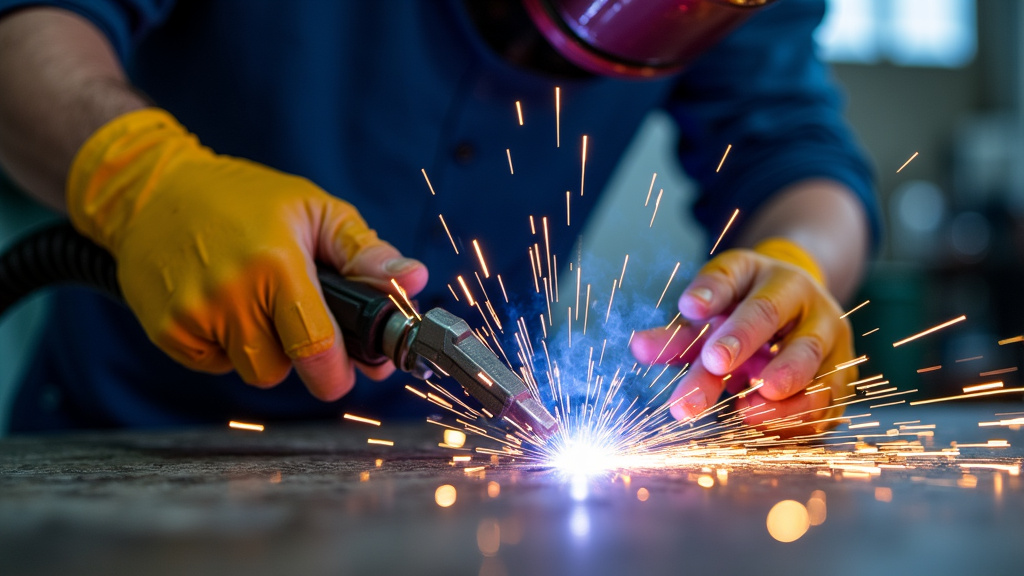
Essential Gear: Protecting Yourself
Welding creates intense UV light, extreme heat, and flying debris. You wouldn’t stare at the sun, and you shouldn’t weld without proper protection. The right gear isn’t optional—it’s what lets you weld safely for years.
Your Personal Protection Checklist
Your safety equipment is your first line of defense. The welding helmet is the most critical piece. It automatically darkens the moment the arc strikes, protecting your eyes from flash burns. Regular sunglasses are completely inadequate for this job.
- Welding Helmet with proper shade level (usually #10-#13).
- Fire-Resistant Jacket or leather apron to protect your torso.
- Heavy-Duty Gloves with long cuffs to shield from sparks and heat.
- Steel-Toed Boots to protect feet from falling hot metal.
- Sleeves and Pants made of thick cotton or wool—never synthetic.
- Respirator or Welding Mask with a filter if working in a poorly ventilated area.
Government safety agencies like OSHA mandate these protections in workplaces. Even for hobbyists at home, following these guidelines prevents serious injuries like burns, eye damage, and respiratory issues.
Choosing the Right Welder for Your Needs
For a homeowner doing occasional repairs, a basic stick welder or a small flux-core wire welder is often plenty. They are affordable and can handle most jobs around the property.
If you plan to work on automotive projects or thinner metals, investing in a basic MIG welder makes sense. It offers a cleaner, more controlled experience. Always match the machine’s capabilities to the metal thickness and type you’ll use most often.
Making Your First Weld: A Simple Practice
Feeling a bit overwhelmed? Everyone starts somewhere. A great first practice is to lay a bead on a flat piece of scrap steel. Don’t even try to join two pieces at first. Just focus on maintaining a steady arc and moving at a consistent speed.
Troubleshooting Common First-Timer Issues
If the electrode keeps sticking to the metal, don’t panic. This is the classic “stuck rod” problem. It means your amperage is too low or your motion is too slow. Give the stinger a quick, firm twist to break it free.
If you’re not seeing a good weld penetration, you might be moving too fast. The heat needs time to melt into the base metal. Slow down just a bit and watch how the puddle develops behind your electrode.
When to Seek Guidance
While online tutorials are helpful, hands-on learning from an experienced welder is invaluable. A community college class or a local welding shop offering a beginner’s course can accelerate your skills safely.
We recommend finding a mentor for your first few sessions. They can give you real-time feedback on your technique that a video simply can’t. This builds good habits from the start.
Conclusion
You now know what arc welding really is: a controlled use of electricity to create intense heat, melt metal, and form a permanent bond. Remember that it all starts with creating a stable arc and a clean molten pool. The right process, whether stick, MIG, or TIG, depends on your specific project. Most importantly, you understand that proper safety gear isn’t just a suggestion—it’s essential for your eyes, skin, and lungs. If you’re just starting out, we suggest your next step is to find a local community college course or a makerspace. Getting hands-on guidance from an experienced welder will build your confidence and skills faster than trying to figure it all out alone.
Frequently Asked Questions
How much does it cost to start arc welding as a hobby?
You can get started with a basic setup for a few hundred dollars. A quality used stick welder or a new entry-level flux-core machine typically costs between $200 and $500. Don’t forget to budget an additional $100 to $150 for essential safety gear like a helmet, gloves, and a jacket.
Which type of arc welding is easiest for a complete beginner?
Most people find MIG (GMAW) or flux-core welding easiest to learn first. The machine feeds the wire for you, creating a stable arc that’s more forgiving of hand movement. Stick welding has a steeper initial learning curve because you must maintain the arc length manually.
Is arc welding dangerous if I take the proper precautions?
With the correct safety gear and a clean workspace, arc welding is a safe and common trade. The primary risks come from UV radiation, flying sparks, and inhaling fumes. Always wear your helmet, use fire-resistant clothing, and weld in a well-ventilated area to protect yourself effectively.
Can arc welding be used on materials other than steel?
Yes, but you need the right process and filler material. TIG welding is excellent for aluminum, stainless steel, and other non-ferrous metals. Always check your welder’s specifications and use the correct electrode or wire for the specific metal you are joining.
Where can I take a beginner welding class near me?
Start by checking your local community college, trade school, or technical center. Many offer affordable, short-term courses for hobbyists. You can also search for local makerspaces or welding shops that sometimes host introductory workshops or offer one-on-one training.